
Booking an Appointment
Follow the below mentioned steps to book an appointment for the first consultancy or follow-up. If the patient is visiting for the first time, you need to register the patient. Patient can be registered at the time of scheduling an appointment from the New Appointment page itself or from the Patients > Patient Registration page.
You can book an appointment from:
- Dashboard - Appointment Calendar, Today’s Appointment List if appointment is to be scheduled for the current date itself
- Outpatient scheduling page under Appointments menu
Steps :
1. Go to Dashboard.
2. In the Today’s Appointment List, click![]() . Alternatively, click the time slot you want to book for an appointment in the calendar visible on the Dashboard page.
. Alternatively, click the time slot you want to book for an appointment in the calendar visible on the Dashboard page.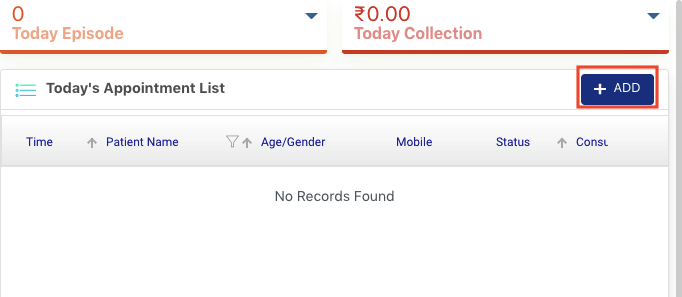
3.In the New Appointment page that opens:
a)Add Hospital, Department, Location and Doctor whose appointment is to be taken.
b)Under Appointment Detail section, add following information:
1.If the appointment is to be booked for follow-up or if the patient is already registered, type the name of patient in the Search bar and press Enter to search for the name.
Alternatively, double-click in the Search bar to view the list of already registered patients. If it is a new patient and is not registered yet, you can register patient from here. See How to register a patient if you need any help in registering a patient.
2.Once the patient is selected, select Appointment Date using the icon and Appointment Time
3.Appointment Status: Select the status as Booked.
4.Service: Using the dropdown menu, select the service as New Case if patient is consulting the Doctor for the first time else select F/up case.
5.Patient Condition: Using the dropdown menu, select the condition of the patient.
6.Patient Complaint: Enter comments or notes on the patient’s symptoms/complaint.
7.Referral Patient: Click this if the patient is being referral by another Doctor or hospital. If it is a referral patient, go to the Referral Details section and specify name of the referred doctor or hospital.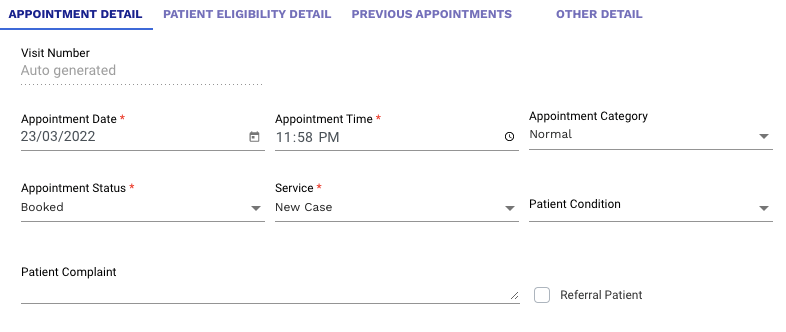
4. Under Patient Eligibility Detail section, using the radio buttons, indicate whether the patient is a self-paying patient or has an insurance. In case of patient is insured, specify insurance details: Appointment Eligibility, Eligibility Code, Eligibility Name and Sponsor Type. Details in this section can be filled later also. <Change screen that shows proper detail>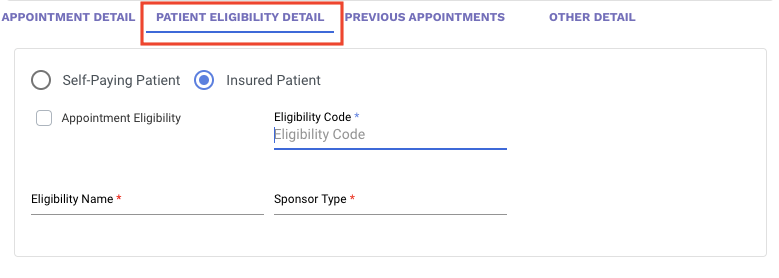
5.Under Previous Appointments section, you can view patient’s previous appointments if any. <Change screen that shows all possible status and multiple doctors>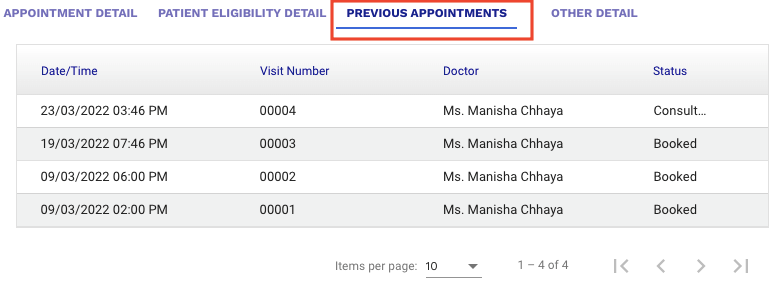
6.Under Other Details section, enter additional details for the booking or the reason for cancellation of the appointment as applicable.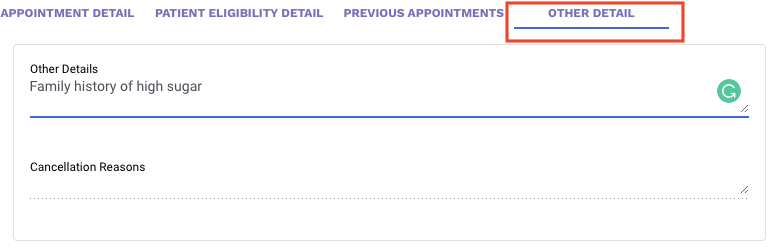
7.Click Save.
Once the appointment is scheduled successfully, it is listed on:
1.Appointment > View > Appointment List with the status as Booked.
2.Doctor Workbench > Doctor Dashboard
On the day of appointment:
1.Appointment is displayed in the Dashboard > Today’s Appointment List.
2.Doctor can start consultation from Dashboard or Doctor Workbench > Doctor Dashboard page.
Comments
0 comments
Please sign in to leave a comment.