
Click here to Add New Appointment:
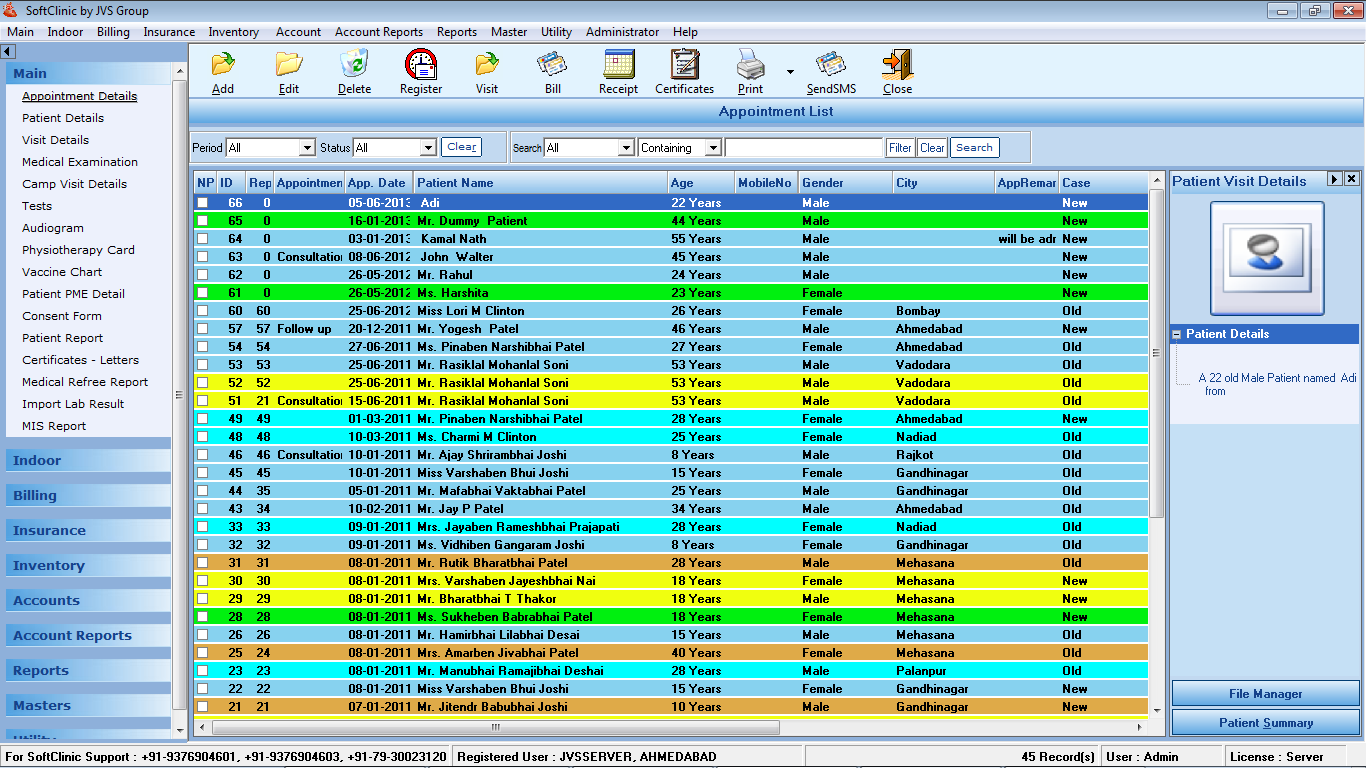
- On login to the system, above screen will be opened as default i.e. “Appointment List” that shows the appointment list of a patient.
- Description of each appointment record in the different color (default) that shows appointment status as follows.
Note: Below given colors are default colors of the system
- Blue: It shows that an Appointment is scheduled.
- Cyan: It shows that an Appointment is
- Yellow: It shows that a patient is in
- Light Green: It shows that an Appointment is
- Orange: It shows that an Appointment is
To Add the New Appointment
- Press the “Add” button on the Menu or press “Alt +A” It will open a screen as under:
Click on save after filling required details
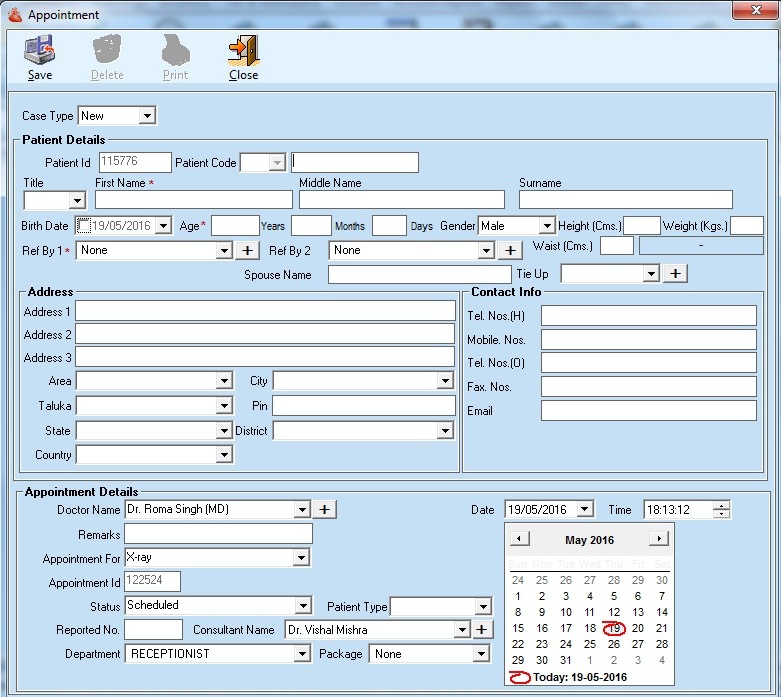
- Fill in the details & then press “Save” button or press “Alt +S” to save the New Appointment.
Note:
If users click on “Save” button without entering patient’s first name, above message box will appear and restrict user to add an appointment
To Edit Appointment
- Select Appointment from the list.
- Double click on the select patient or press the “Edit” button on the menu, it will open the above screen in edit mode.
- Change or Fill the details and press “Save” button or press “Alt +S” to save the changes.
To Delete Appointment
- Select Appointment from the list.
- Press “Delete” button on the menu, or press” Alt + D” to delete the selected appointment.
Note:
Delete button on the edit mode screen also deletes the current Appointment.
Comments
0 comments
Please sign in to leave a comment.